Genomia s.r.o.
Republikánská 6
312 00 Pilsen
e-mail: laborator@genomia.cz
» Contact & location


Instructions for animal sampling
Theoretically, it is possible to isolate DNA from any biological sample. Genomia Laboratory performs isolation of genomic DNA from blood, cheek swabs, hair roots, feathers and other tissues (skin, placental tissue, internal organs etc.)
The most reliable source of high quality DNA is peripheral blood sample. Blood sampling has to be performed by an veterinarian in contrary to cheek swabs, which can be sampled by the owner. To provide the necessary number of cells for DNA isolation, the swabbing has to be done very thoroughly.
Depending on customer's wishes laboratory sends out the Blood Collection Kit or the Cheek Swab Collection Kit. Price for the kit is 8 Eur (No matter how many tubes or brushes are included in the Kit. Price is for one packet shipping.). In case no DNA would be possible to isolate (bad sampling, laboratory fault, damage to the sample during transport) the customer will be sent new sampling kit free of charge.
.
Why should you have the identity of the animal confirmed when taking a sample from the animal?
The fact that the identity of the animal was confirmed by an independent person or an authority (e.g. a vet or a laboratory) before a sample was taken is stated in the test report with the results.
The confirmed sample collection will be stated in the test report provided the sample was delivered to the laboratory together with a completed sample collection form (or other suitable form). The properly completed form of confirmed sample collection shall contain the identification of the animal, in particular its full name, breed, microchip number or tattoo, the name, signature and stamp of the veterinarian. The animal identification is most often verified via microchip (scanner) or a tattoo (visually), a leg band number for birds, etc. Kennel Clubs can have specific requirements for sample collection. Kennel Clubs may not acknowledge samples without confirmation of animal identity by an independent authority.
To confirm the identity of the tested animal, use the appropriate examination order form. The form will be confirmed by the veterinarian performing the sample collection. The confirmation will become part of the final result report.
.
.
-
Instructions for blood sampling
(suitable for dogs, cats, cattle, birds) -
Instructions for cheek swabs sampling
(suitable for dogs, cats, cattle, horses) -
Instructions for feather sampling
(suitable for birds) -
Instructions for taking samples of a eggshell
(suitable for birds) -
Instructions for collection blood sample from birds on a blood collection card
(suitable for testing: APV + PBFD and determination of bird's sex) -
Instructions for taking blood sample from birds into a test tube with ethanol
(suitable for testing: determination of bird s gender and determination of genetic profile -
Instructions for horsehair sampling
(suitable for horses) -
Instructions for nasal, conjunctival, rectal and genital swab sampling for pathogen detection
.
Instructions for blood sampling (suitable for dogs, cats, cattle, birds)
Blood sampling is performed by a veterinarian!
Blood Sampling kit will be sent out to you after completing of the ordering form.
.
Kit includes:
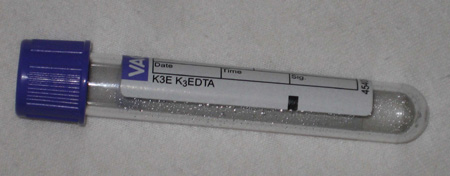
- sterile tube with anticoagulant (EDTA)
- sealable bag with a label
- postal envelope with return address
Blood sample can also be drawn during an appointment with your veterinarian, without us having sent a collection kit to you. Just inform your veterinarian about required sample volume and test tube type (violet top).
.
Blood sampling procedure:
- Use new sterile syringe and needle for each animal.
- Collect unclotted blood into the test tube with EDTA, 0.5 to 1 ml of full blood is enough for successful analysis.
- Invert the tube several times to mix the blood with anticoagulant thoroughly.
- Put the tube into labelled bag and seal well.
- Legibly write sample identification (sample number if you know it) on the label.
- Store tube in the refrigerator (do NOT freeze) and dispatch as soon as possible.
- While packing, make sure the tube can't be broken and the contents spilled during transport (wrap the tube in some serviette).
- Samples should be dispatched through regular mail to:
Genomia
Republikánská 6, 312 00 Plzen
Czech Republic, EU
.
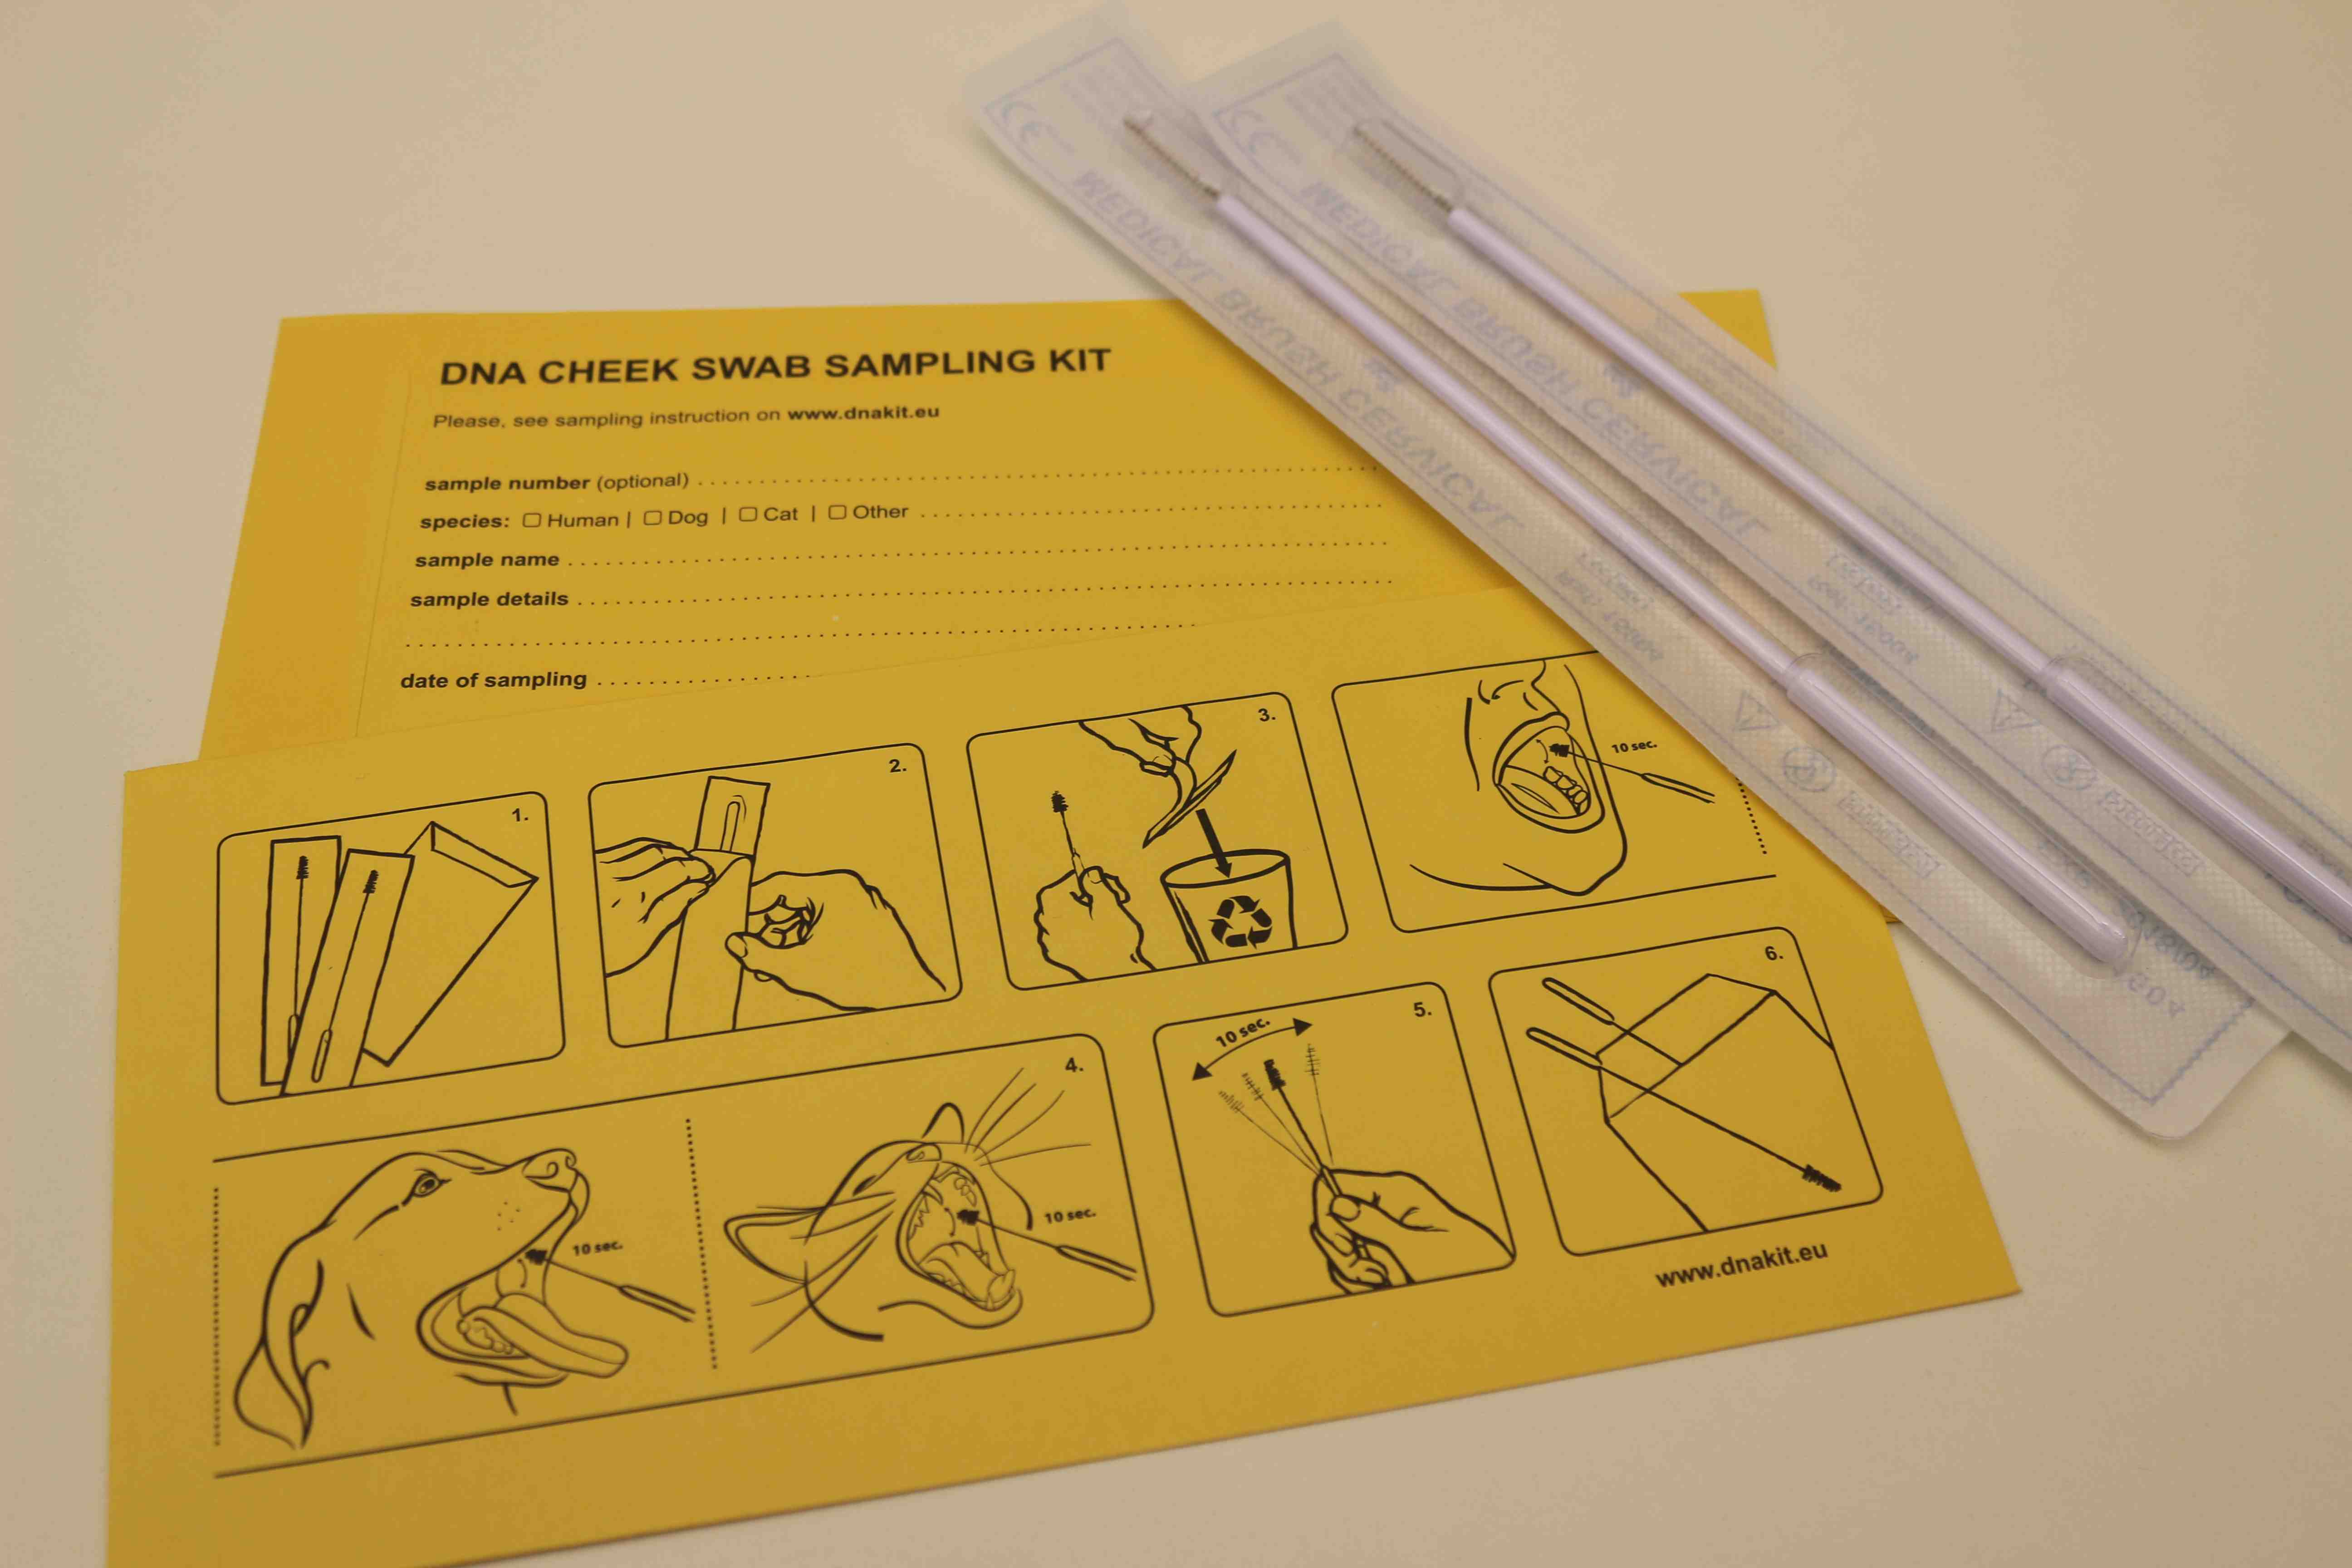
Instructions for cheek swabs sampling (suitable for dogs, cats, cattle)
Cheek swabs sampling is performed by owner or veterinarian.
Cheek Swabs Sampling Kit will be sent out to you after completing of the ordering form.
.
Kit includes:
- 2 sterile brushes
- small envelope for brush lodgement
- postal envelope with return address
.
Cheek swab sampling procedure:
1. The animal's oral cavity should be clean. It is recommended not to serve food or water for 15 minutes before sampling.
2. Legibly write sample identification (sample number if you know it) on the small envelope.
3. Repeat following process (A-D) with both brushes:
- A) Remove the brush from its cover. Take care not to touch other tissues except sampled animal's mucosa.
- B) With the tip of the brush, swab the inside of the cheek for at least 5 seconds. Change the direction of movement and rotate the brush gently. Be thorough. In the end of sampling a visible amount of material should be collected.
- C) Hold the brush to dry for several seconds (a minute).
- D) Insert the brush into small envelope.
4. Seal up the small envelope with both brushes inside.
5. Pack into addressed envelope and dispatch as soon as possible. Samples should be dispatched through regular mail to:
Genomia
Czech Republic, EU
.
Sampling of nursed youngs:
Swab youngs about 30 minutes after last nursing to avoid sample contamination with mother's cells! Detach each young from mother and siblings for about 20 minutes before sampling to avoid mutual licking. It is better to feed the young with normal food and then wait for about 20 minutes without eating and drinking.
.
Instructions for taking samples of a eggshell (suitable for birds)

- Remove the shell immediately after bird hatching.
- It is important to avoid confusion of shells. It must be clear to which bird the appropriate shell belongs. The shell can be marked on the outer surface.
- Don´t touch the material inside the egg. The fibre/umbilical cord on the shell inside surface is important for the genetic test.
- If the shell is contaminated with the excrements, wipe it carefully clean with a moistened napkin.
- Let the shell dry in the air for approx. 24 hours. It has to be dry from both sides. Put the shell in small plastic or paper box. This will help prevent crushing of the shell during transport.
- Marked a box with identification data of the bird.
- Then, put the box containing the shell in envelope (a bubble envelope at the best) and send it to the address of our laboratory:
Genomia s.r.o.
Czech Republic
Europe
.
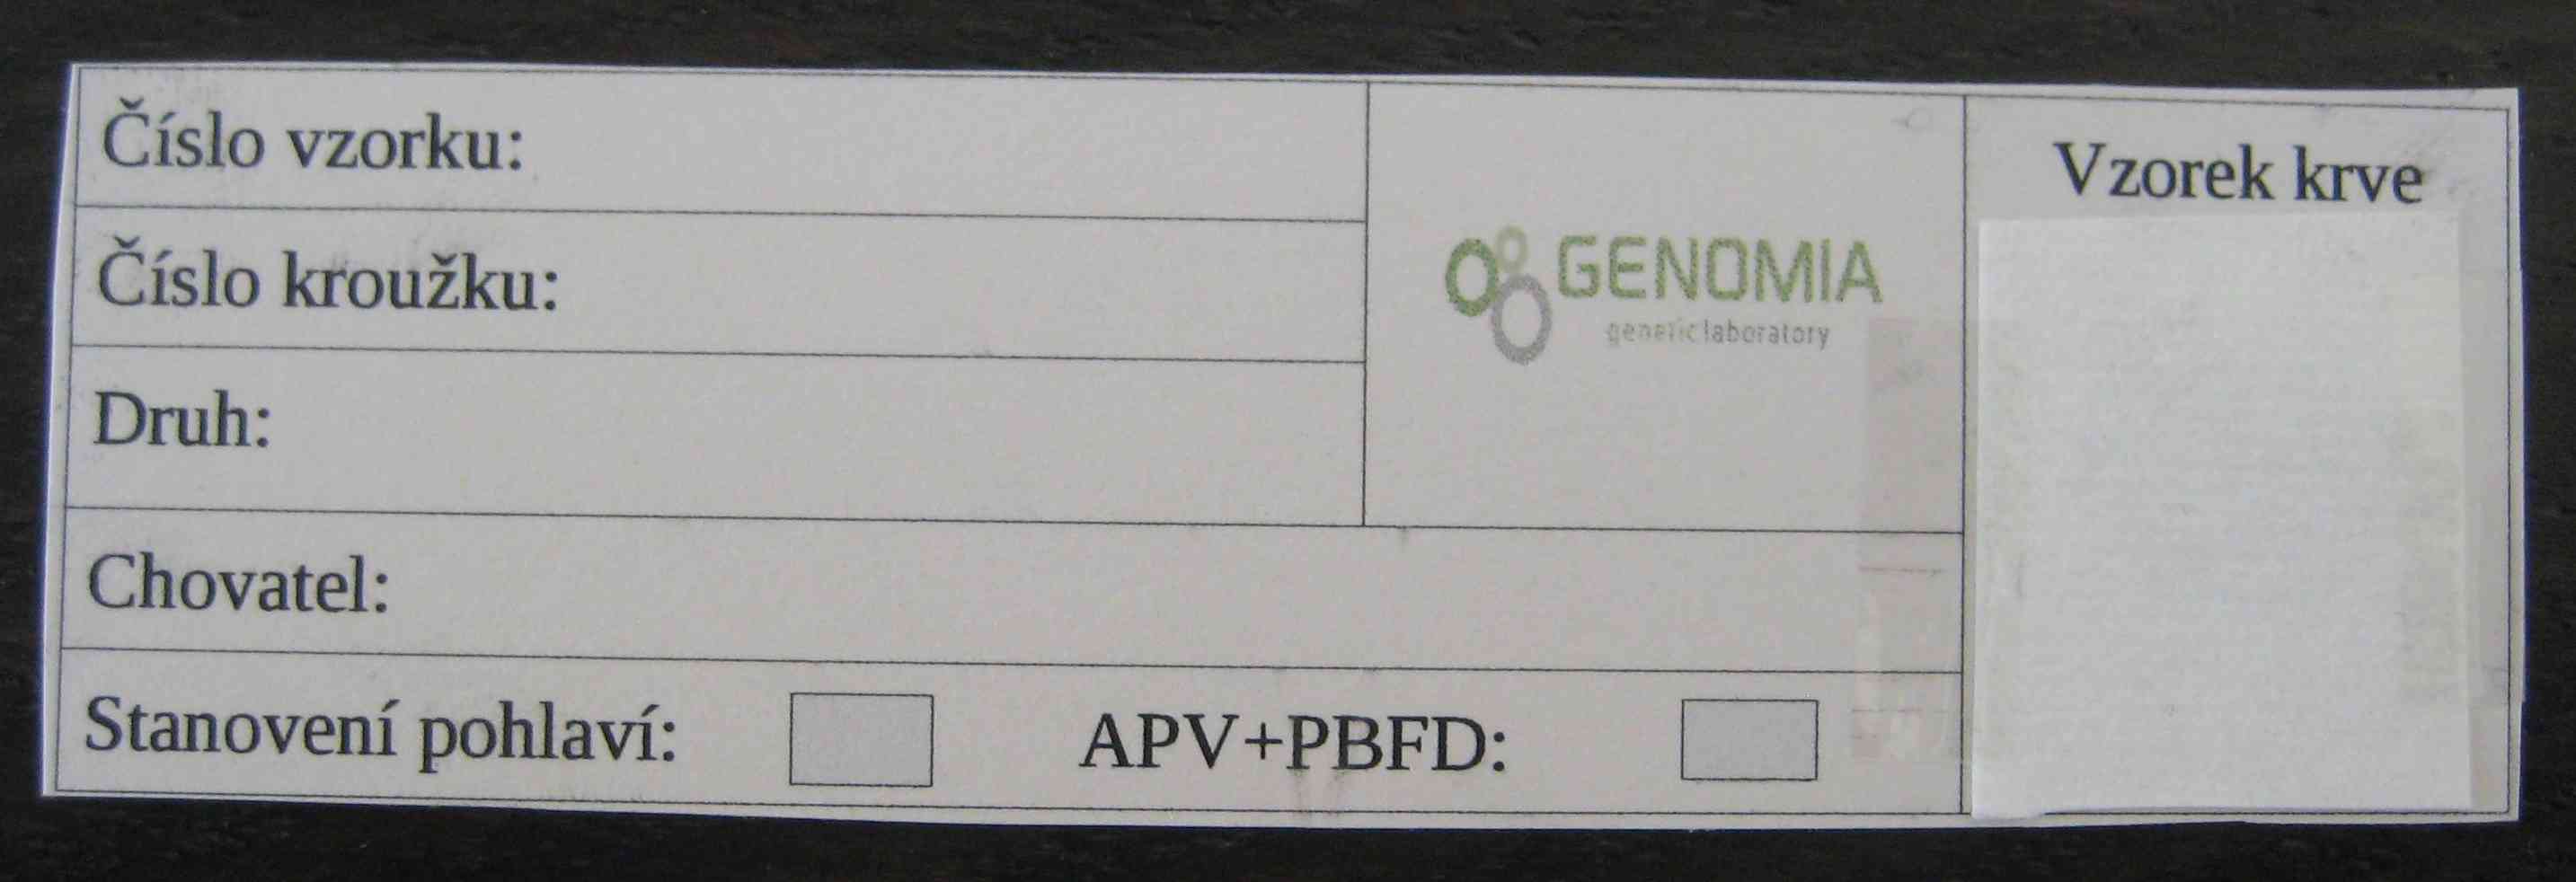
Instructions for collection blood sample from birds on a blood collection card
Suitable for testing: APV + PBFD and determination of bird´s sex.
.
.
-
Write clearly the unique identification data of the animal tested on the blood collection card (sample number, if it was assigned to you when ordering the test; the name of the animal; chip; ring number...).
-
The blood is taken from the wing vein or by cutting of a spur. For the blood sample collection only 2 to 3 drops will be sufficient.
-
The point of blood collection is described with words "blood sample". Hold the collection card and touch it gently against the drop of blood flowing from the wing vein or a spur.
-
Let the card fully air dry for approx. 30 minutes (in dependence on blood amount). When the card is completely dry, put the card into a sealable plastic bag. Should you place still wet collection card in to plastic bag and seal it, moulds would occur on the blood and make the analysis impossible!
-
Put the bag with the collection card into an air-cushion envelope with return address and send it by normal mail to the address of our laboratory: Genomia s.r.o., Republikánská 6, 312 00 Plzeň, Czech Republic
.
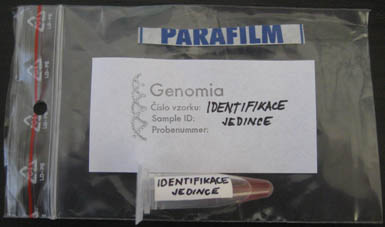
Instructions for taking blood sample from birds into a test tube with ethanol
Suitable for testing: determination of bird´s gender and determination of genetic profile.
.
.
-
Take a blood sample from one bird at a time. Do not take the next sample until the first is uniquely identified and put into a closed plastic bag.
-
Label the test tube with 70 % ethanol by unique identification data of the animal tested (sample number, if it was assigned to you when ordering the test; the name of the animal; chip; ring number...).
-
Label the sealable plastic bag for placing in the tube with blood sample by the same unique identification data of the animal tested as the test tube.
-
Withdraw several drops of blood into the tube with 70 % ethanol.
-
Secure the closed tube to avoid opening and spilling its contents - cover the cap with paraffin.
-
Put the tube into the labelled plastic bag and close the bag.
-
Insert the samples take into an air-cushion envelope with return address and send per normal mail to the address of laboratory: Genomia s.r.o., Republikánská 6, 312 00 Plzeň, Czech Republic
Instructions for taking feather samples.
- Pull out at least 5 to 7 fine feathers. The feathers must not be lost feathers or cut ones.
- Insert the feathers in a clean envelope and seal the envelope.
- Mark the envelope with unambiguous identification of the sample (e.g., assigned sample number or another identification).
- Insert the marked envelope to another envelope to which laboratory address is to be written as follows: Genomia, Republikanska 6, 312 00 Plzen, Czech Republic
- Send the sample by standard mail.
.
Instructions for taking horsehairs
- Rip strand of horsehairs from the mane or tail.
- Horsehair has to include the hair bulb visible.
- At least 20 bulbs are needed for laboratory analysis.
- Place horsehairs directly in the labelled long envelope and seal it.
- Mark the envelope with clear identification of the sample (eg. assigned a sample number or other identification).
- Place the long envelope with horsehairs in the bubble envelope with the return address and send it by regular mail to the laboratory address:
Genomia
Republikánská 6, 312 00 Plzen
Czech Republic
.
Instructions for nasal, conjunctival, rectal and genital swab sampling for pathogen detection
Write collection day to the sample. Samples have to be sent to the laboratory on the day of collection. Do not send samples on Friday! Samples have to be delivered to the laboratory within 48 hours!
You can order swabs for sampling in the laboratory using online ordering form (the ordering system gives you numbers for labeling the samples), or by email or phone. You can also use your own sterile swabs.
Laboratory provides two swabs for one animal - each swab can be used for sampling of different mucosae. Swabs will be analysed together like a mixed sample. If you like test the swabs separately, we will charge you two analysis - it is necesary to ask for separately testing!
Swab sampling can be performed by the breeder of by the veterinarian who can also check and confirm the identity of the sample.
.
Collection procedure:
Recommendation: Take samples of one animal only at a time! If you have to take samples of several animals, first finish completely the sample collection from the first animal before you continue with the other one. In this way, you prevent the mutual contamination of samples.
1. Label legibly the plastic cover of the swab with the animal identification data (sample number, if assigned; name of the animal, chip...).
2. Remove the sterile swab from the packaging. Do not touch the swab! Pay attention that the swab does not get into contact with other surface than the mucosae of the examined animal.
3. Perform collection of the mucosae cell carefully, firmly scrape the swab several times in the opposite directions, rolling the swab to cover with cells.
4. Air dry the swab for several minutes - don't put it down, hold the it in the hand. A wet swab may cause that fouling process is started on the way to the laboratory.
5. Place the dry swab directly in the labelled plastic cover.
6. Repeat whole process with the second swab.
7. Place labeled samples in bubble envelope with the return address and send it by regular mail to the laboratory address: Genomia s.r.o., Republikanska 6, 312 00 Plzen, Czech Republic.